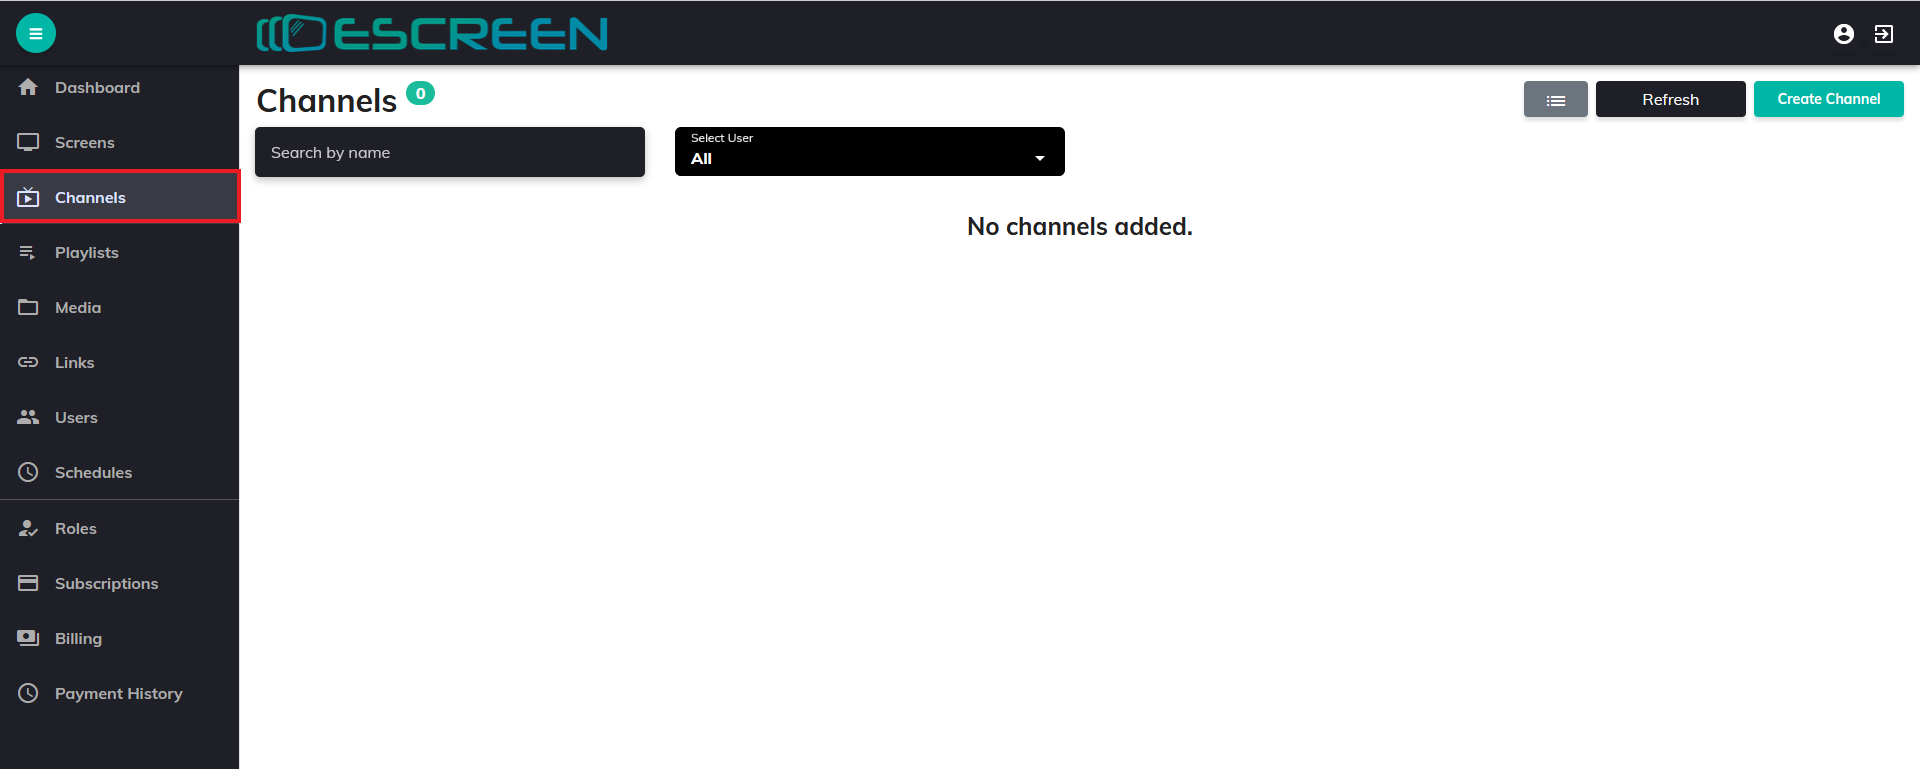
Step 1: Go to Channels tab
Click on Channels under Side-menu.
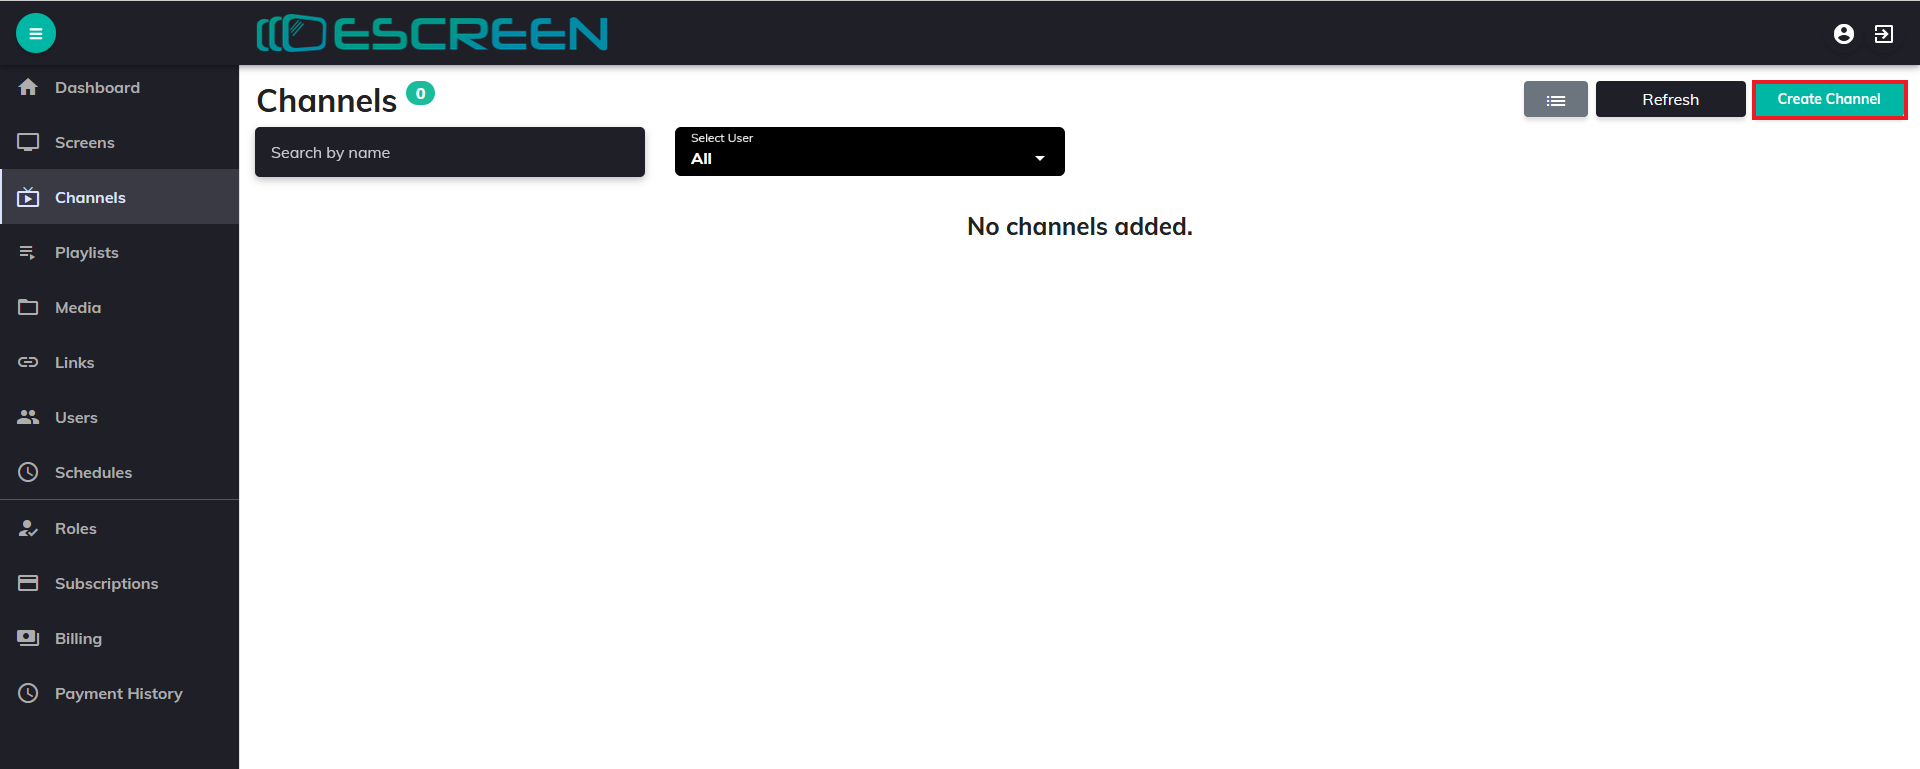
Step 2: Create Channel
Click on Create Channel Button.
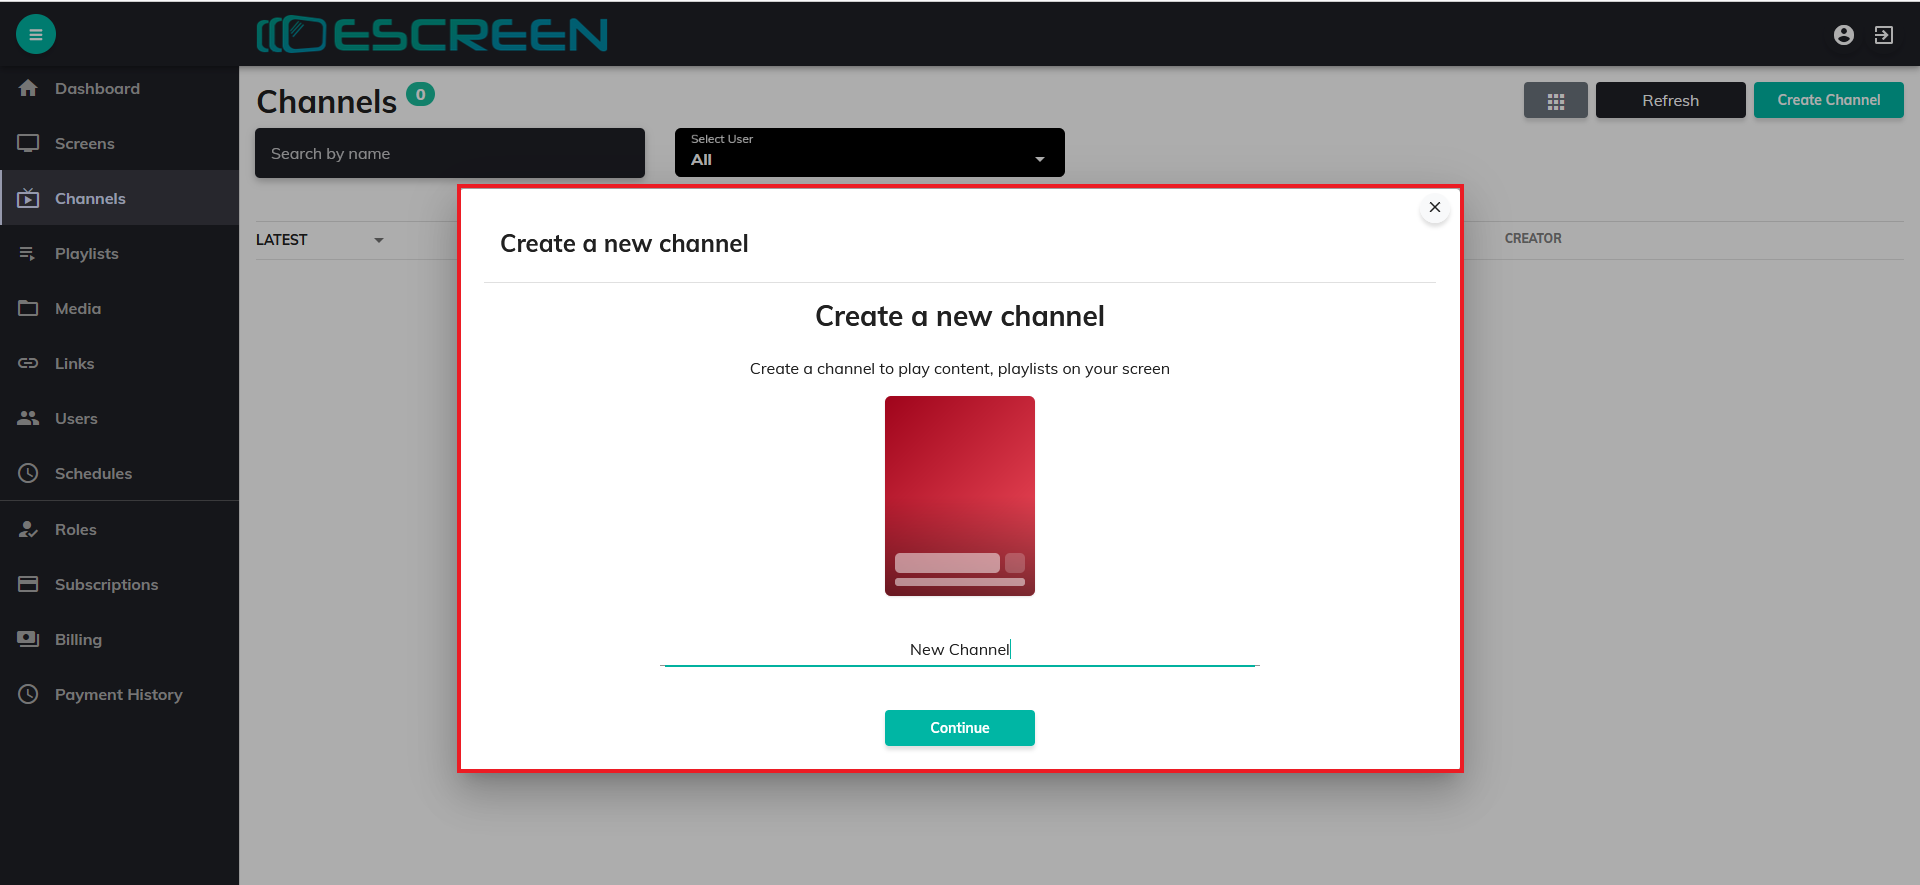
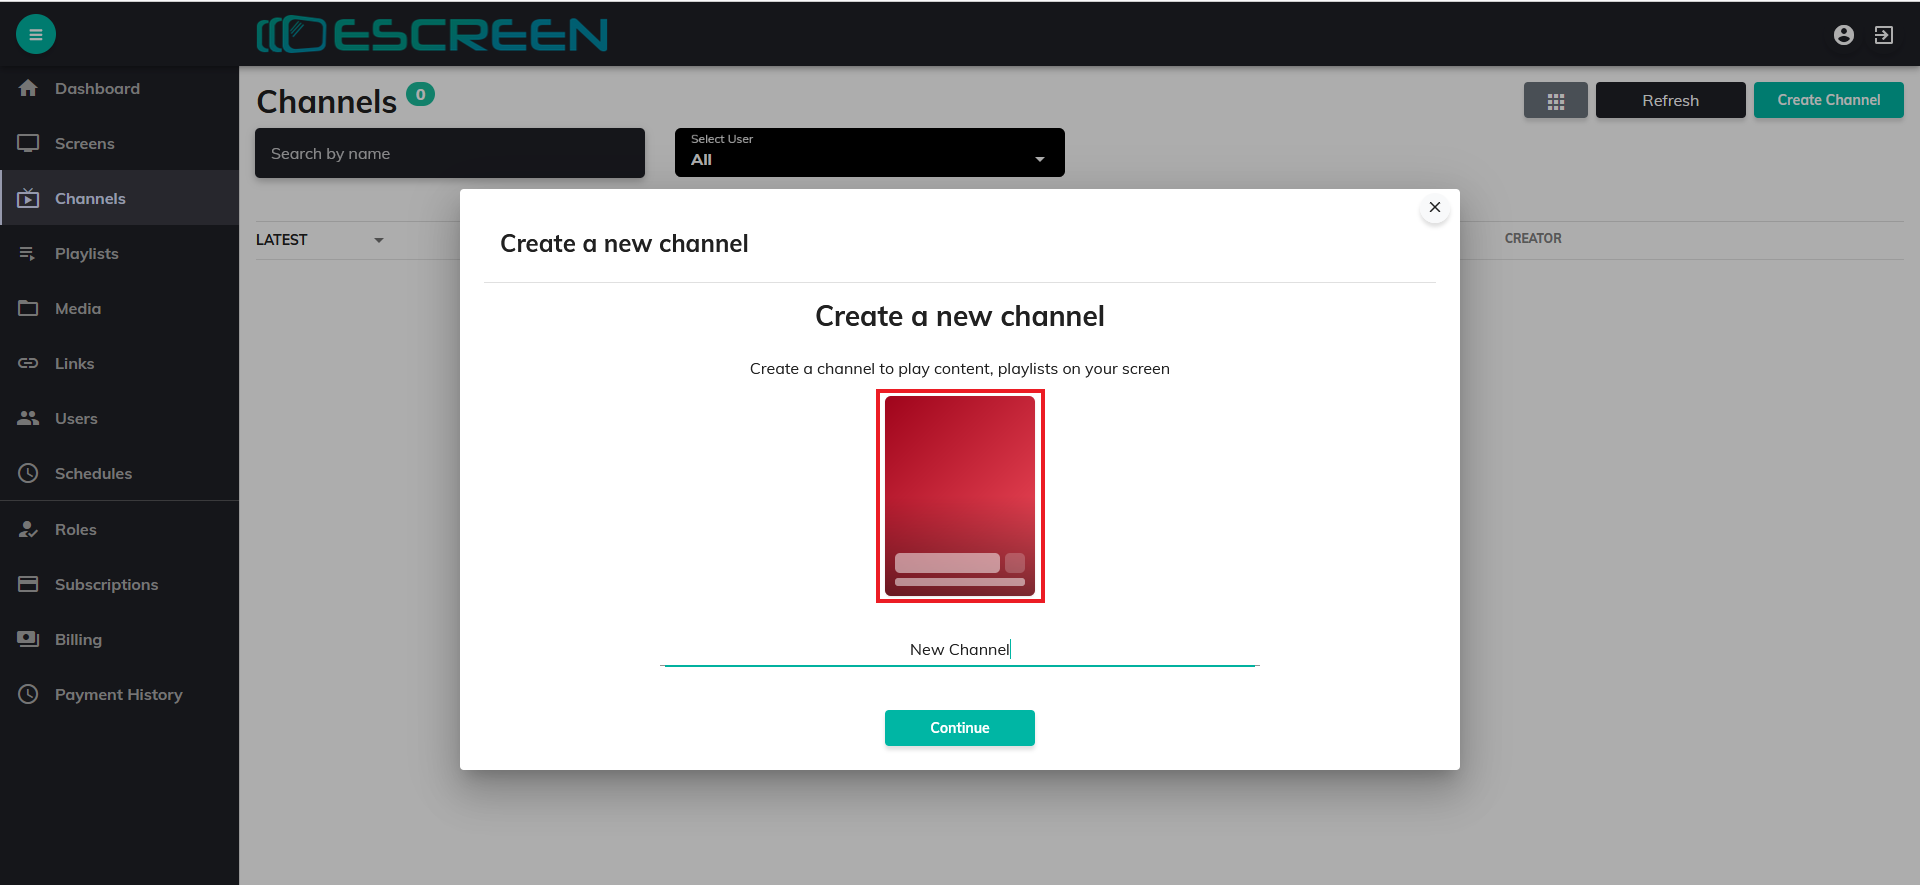
Step 3: Create New Channel
After clicking on Create Channel, a Box will appear.
Enter your new channel Name on which your content will be displayed. like :- Playlists, Video, etc
Step 4: Channel Poster
Click on Channel Display (Red Part)
Step 5: Color Poster
There are many colors available to display your channel, Choose any one you like. Then click on Done.
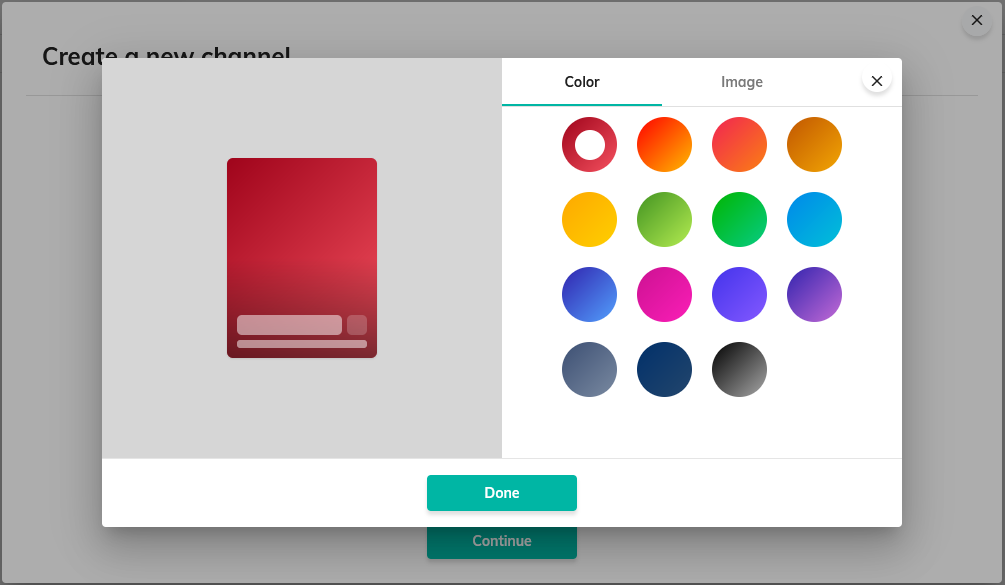
OR
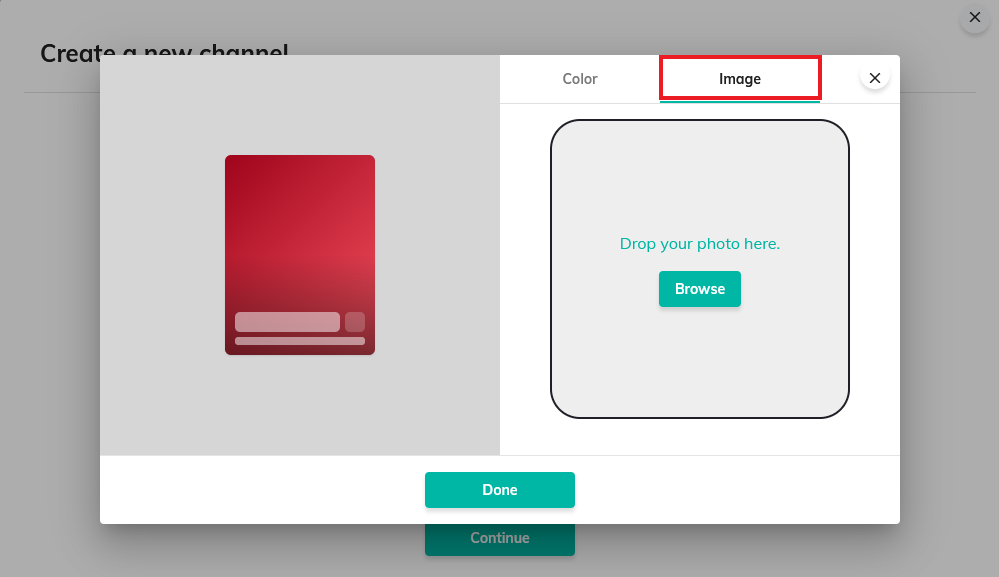
Custom Image Poster
Click on Image and choose image from your local storage. You can also directly drop your image in space provided.
Then click on Done.
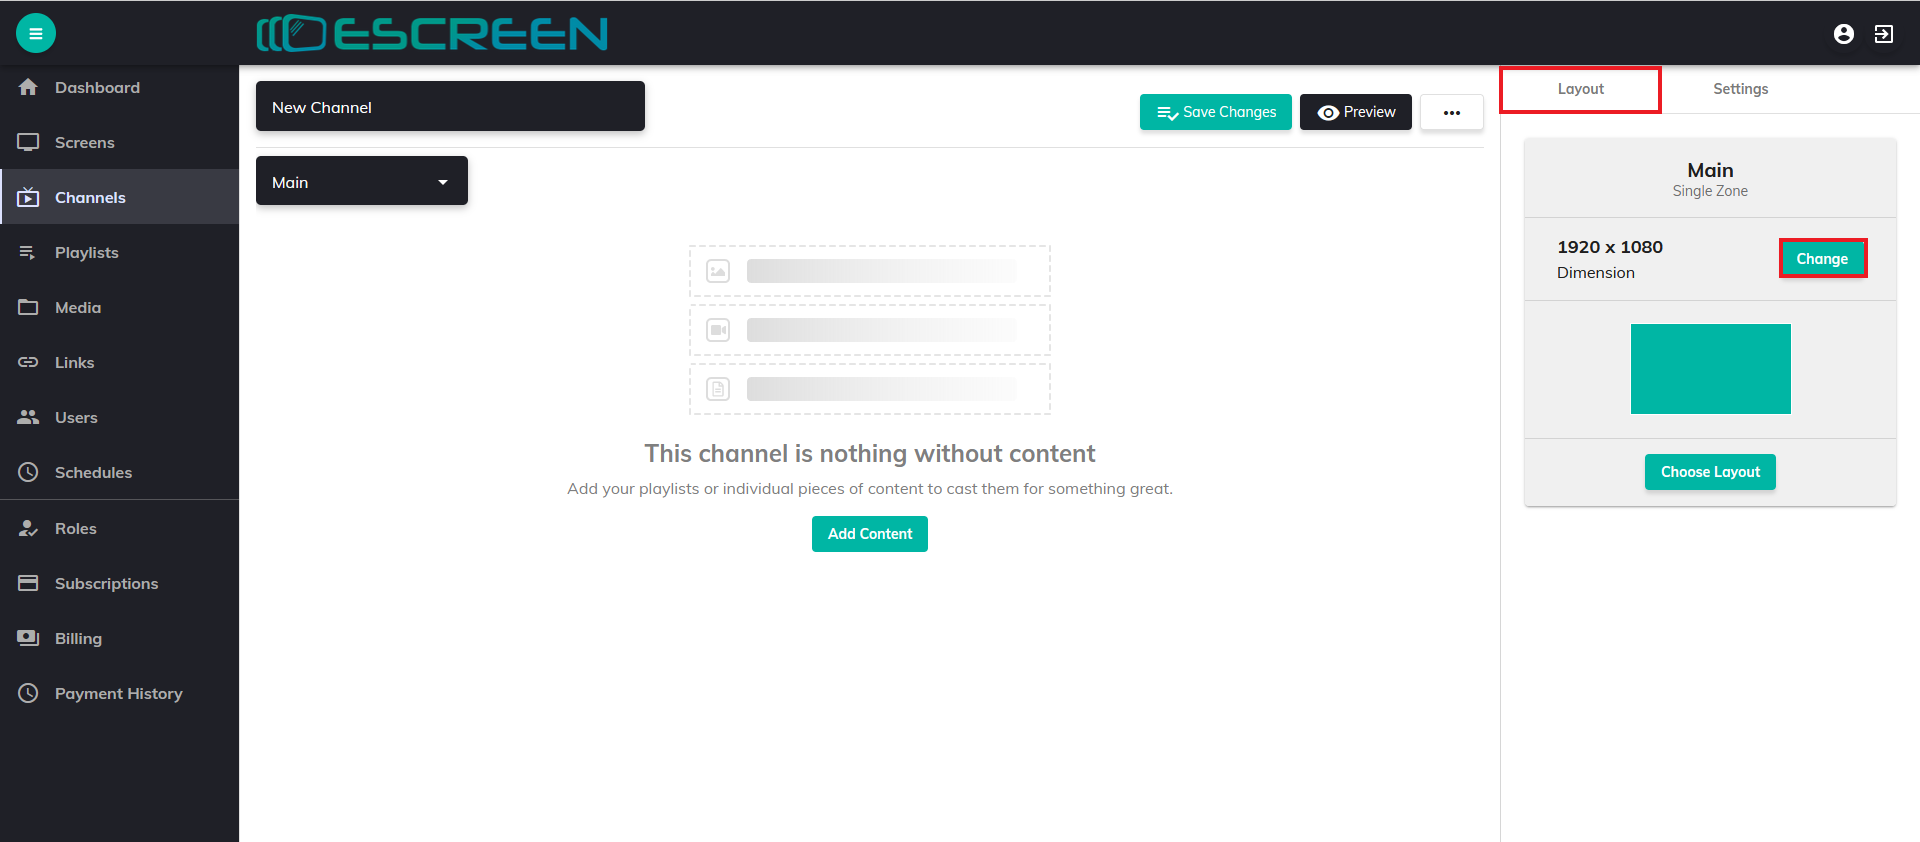
Step 7: Channel Layout
After you click on Continue, new page will appear.
Click on Change to select different Dimensions of channel.
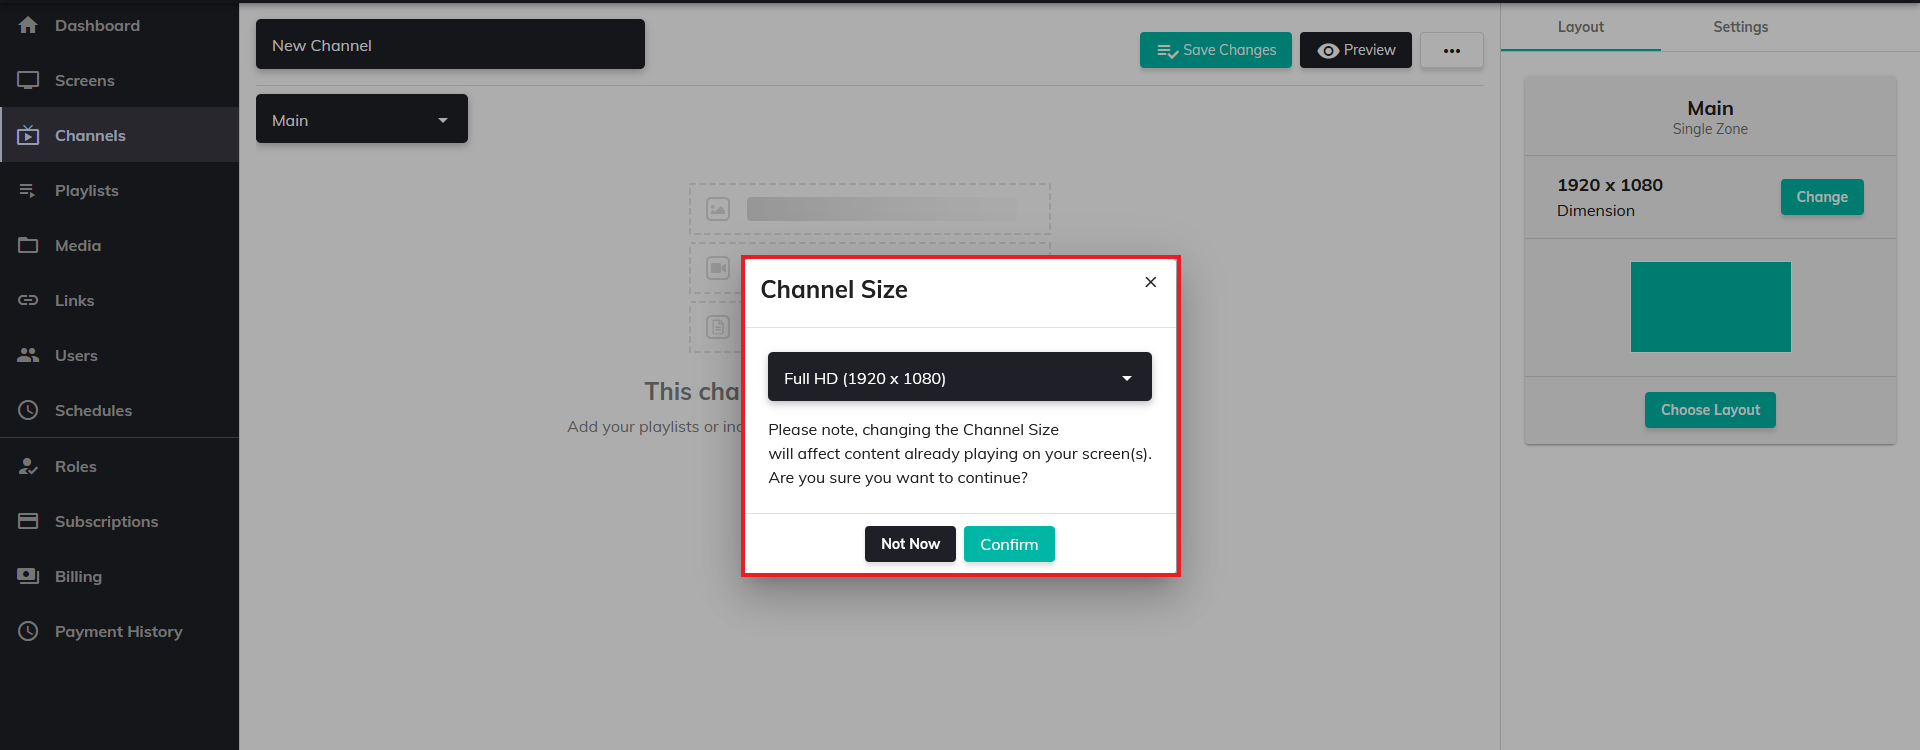
Step 8: Channel Size & Layout
After you click on Change, a box will appear.
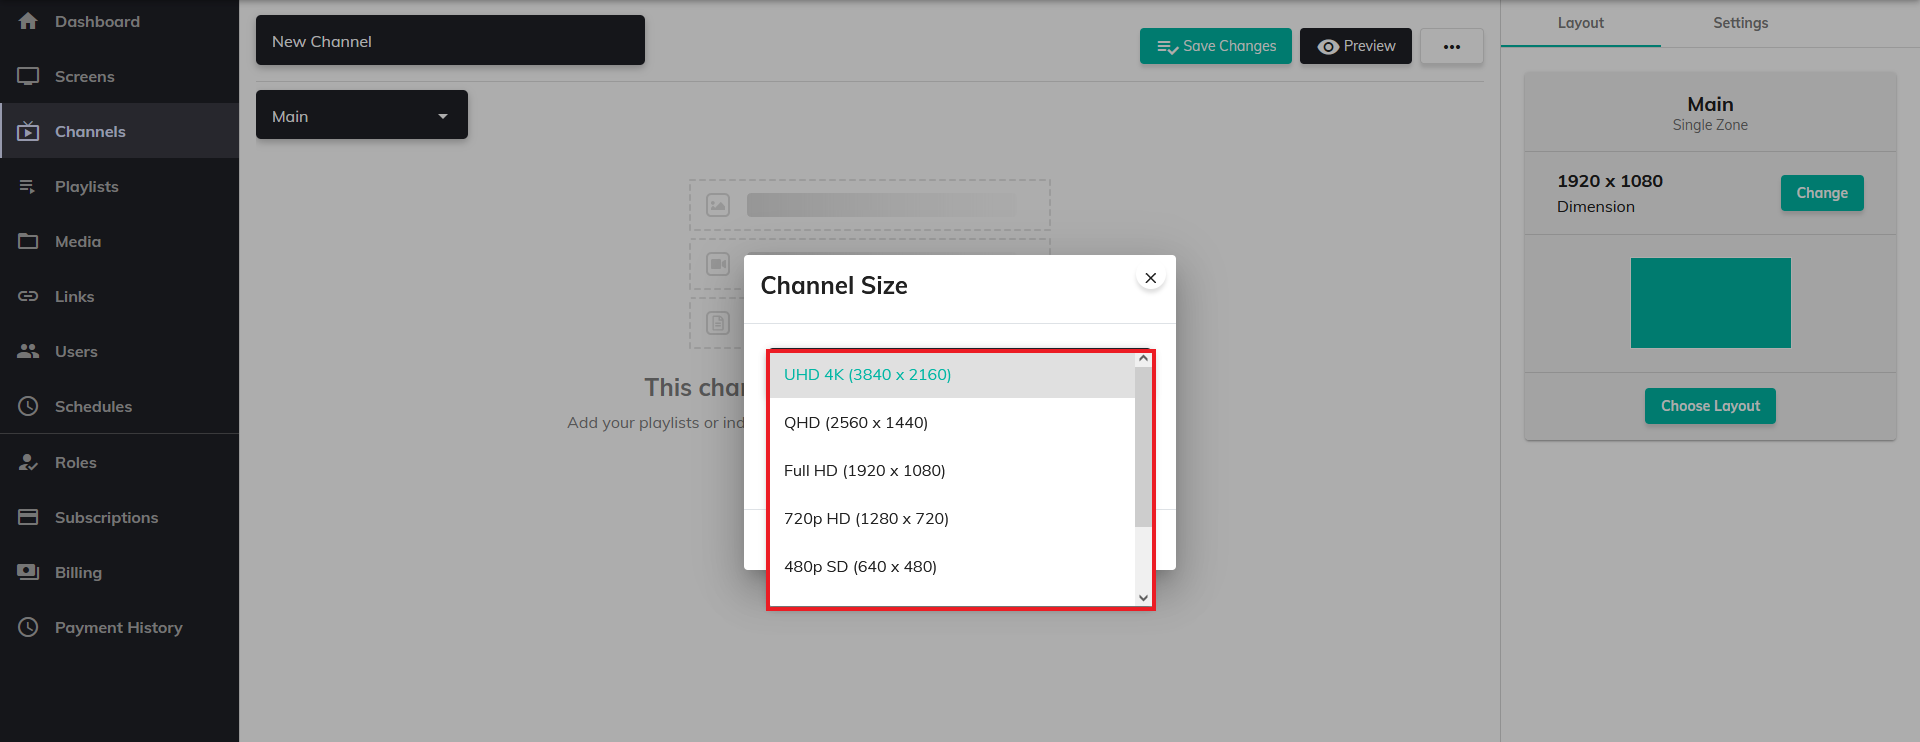
There you can select different Dimensions of channel from list. Select any size you want. Like :- Full HD (1920 x 1080), UHD 4K (3840 x 2160), QHD (2560 x 1440) and scroll down for many more.
Then click on Confirm. (Note :- Changing the channel size may affect your content that is already displayed on your screen.)

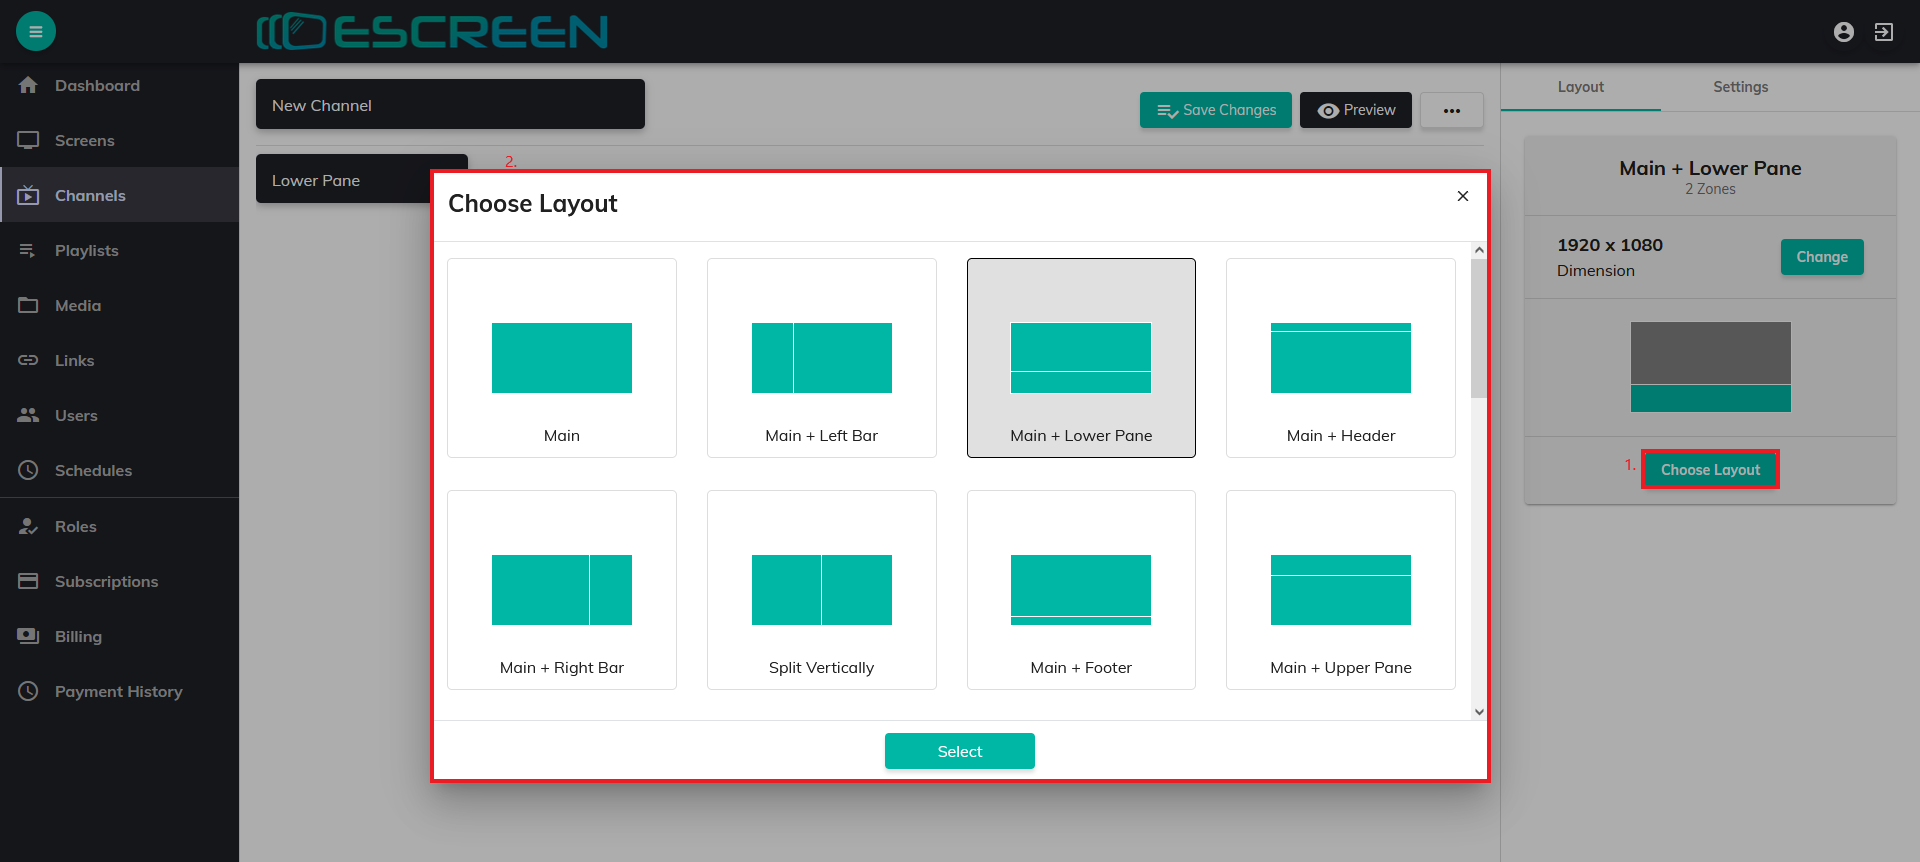
Click on Choose Layout, then a box will appear, from it select types of layout you desire. Then click on Select.
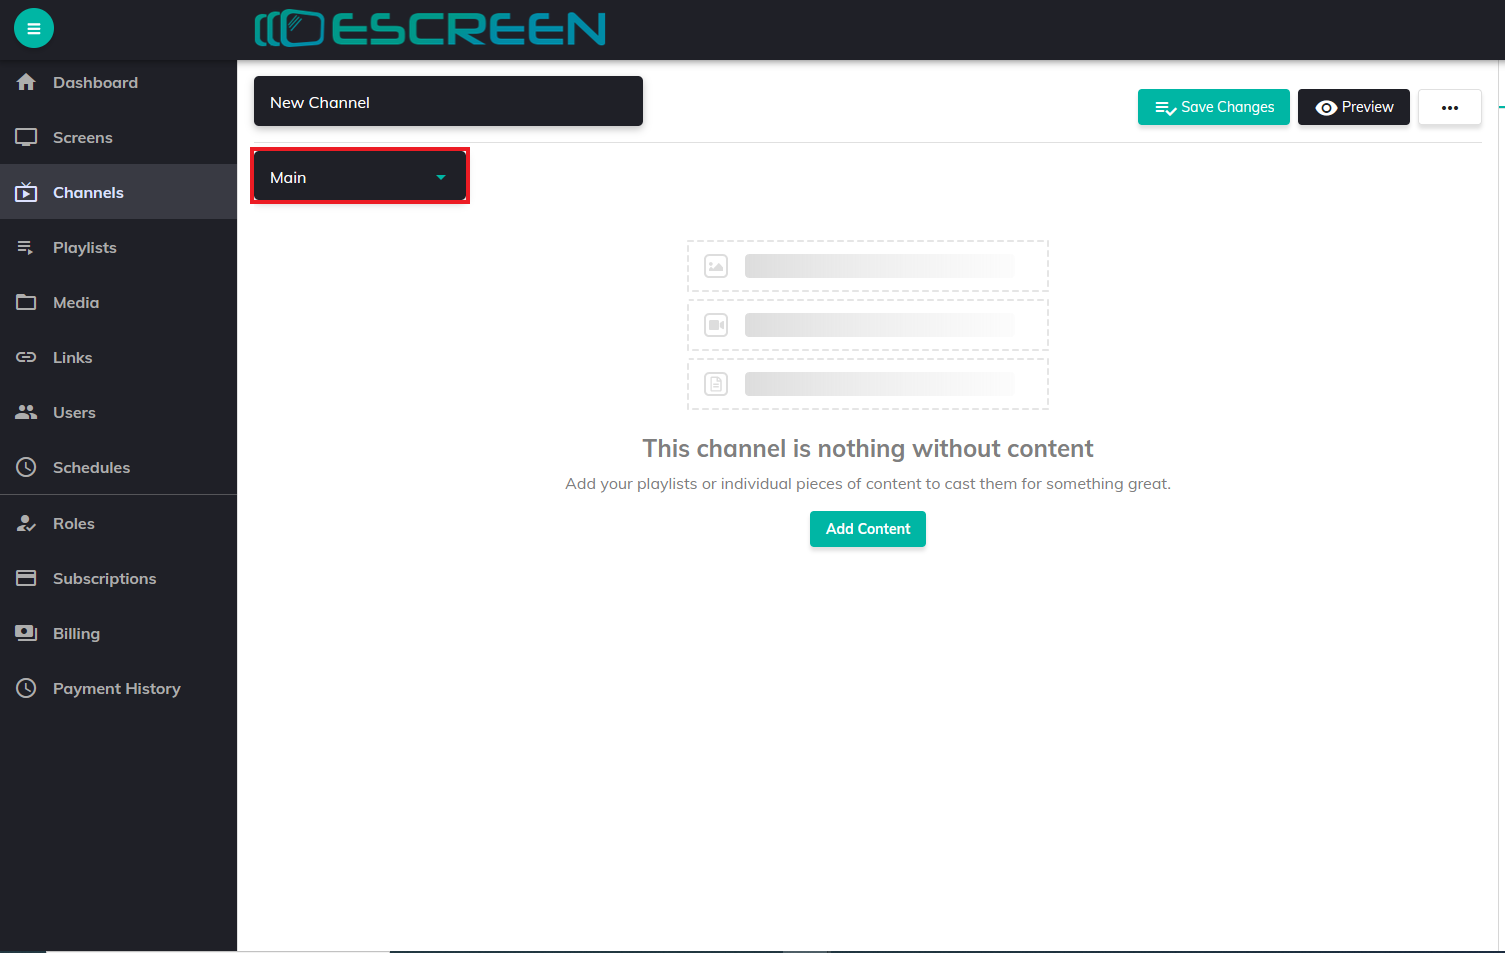
Step 9: Select Pane
When you click on Main, drop down list will appear from there you can select on which pane your content should display. There are options like Main, Lower Pane, Right pane, etc. Options available according to the layout you selected earlier.
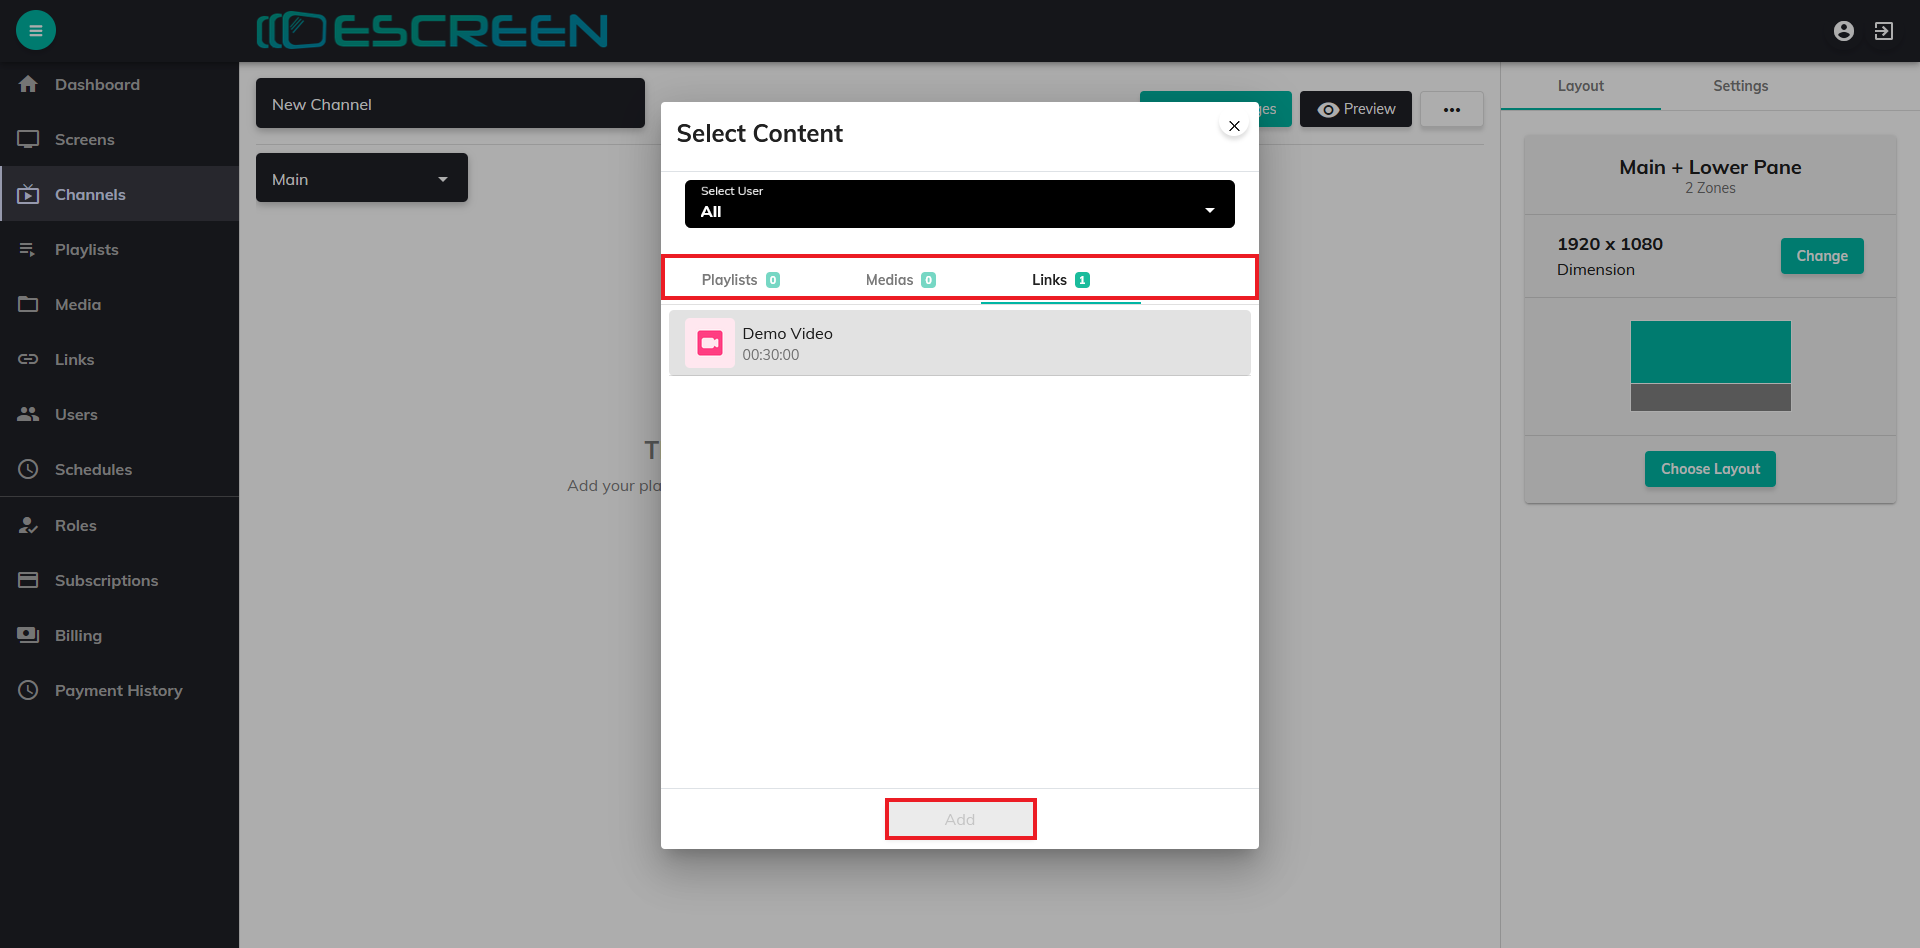
Step 10: Add Content
Click on Add Content.

Select Content box will appear, from there choose any content (Playlists, Medias and Links) you want to display on your screen(s).
Click on Add.
Step 11: See Preview
After you click on Add, new screen will come. There you can watch preview of your content by pressing on Preview button.
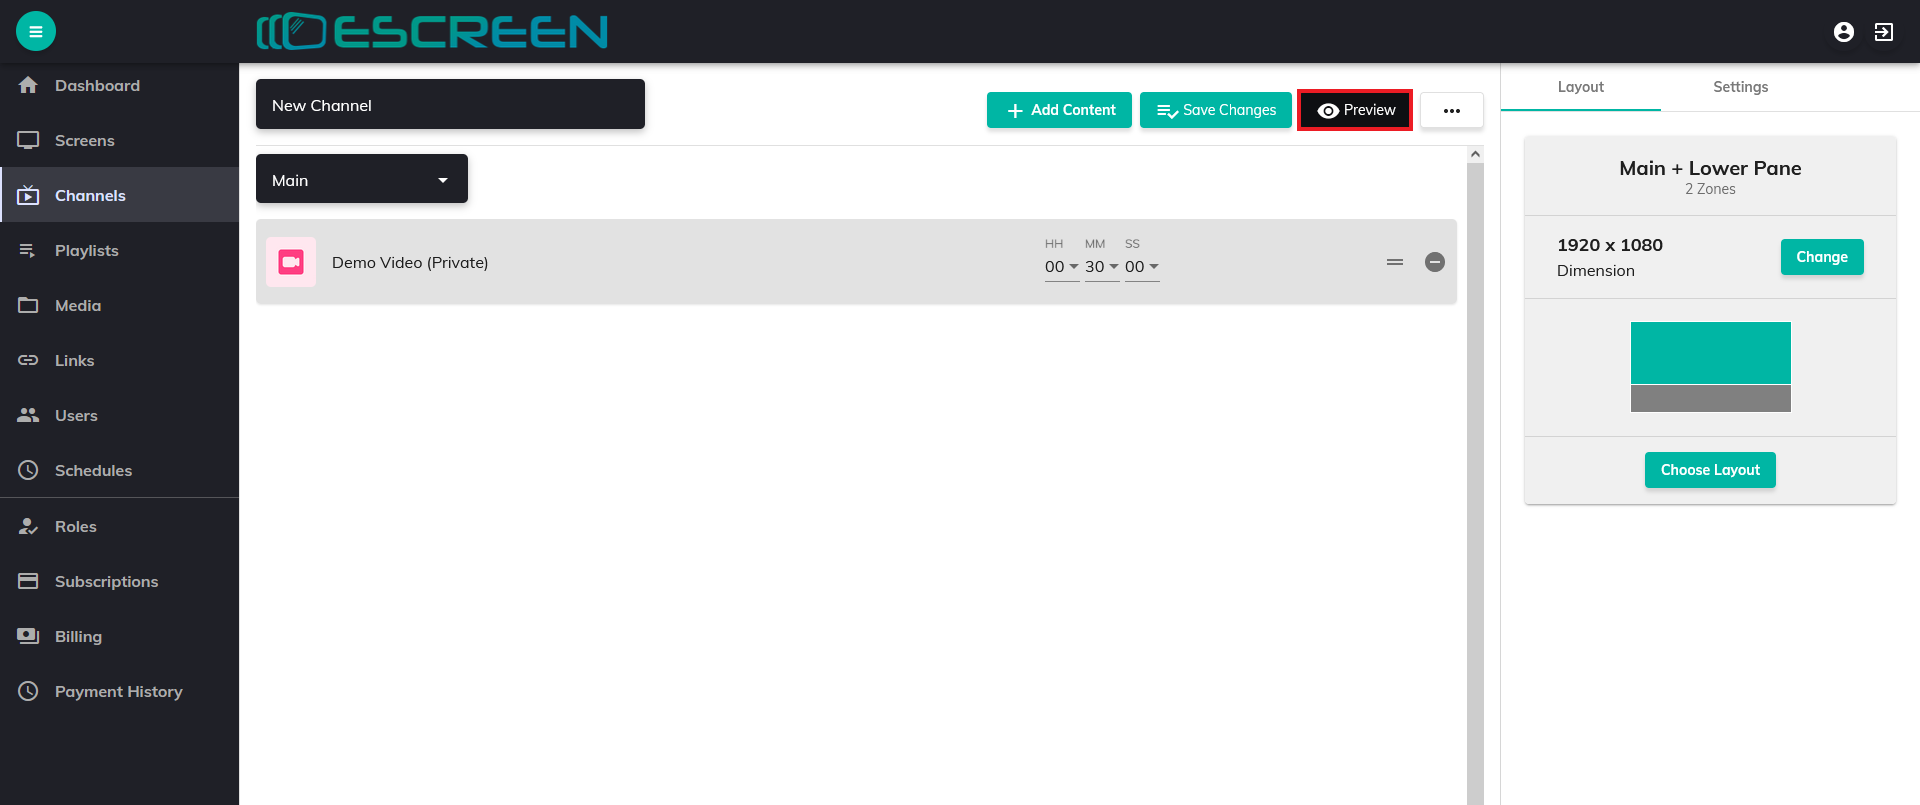
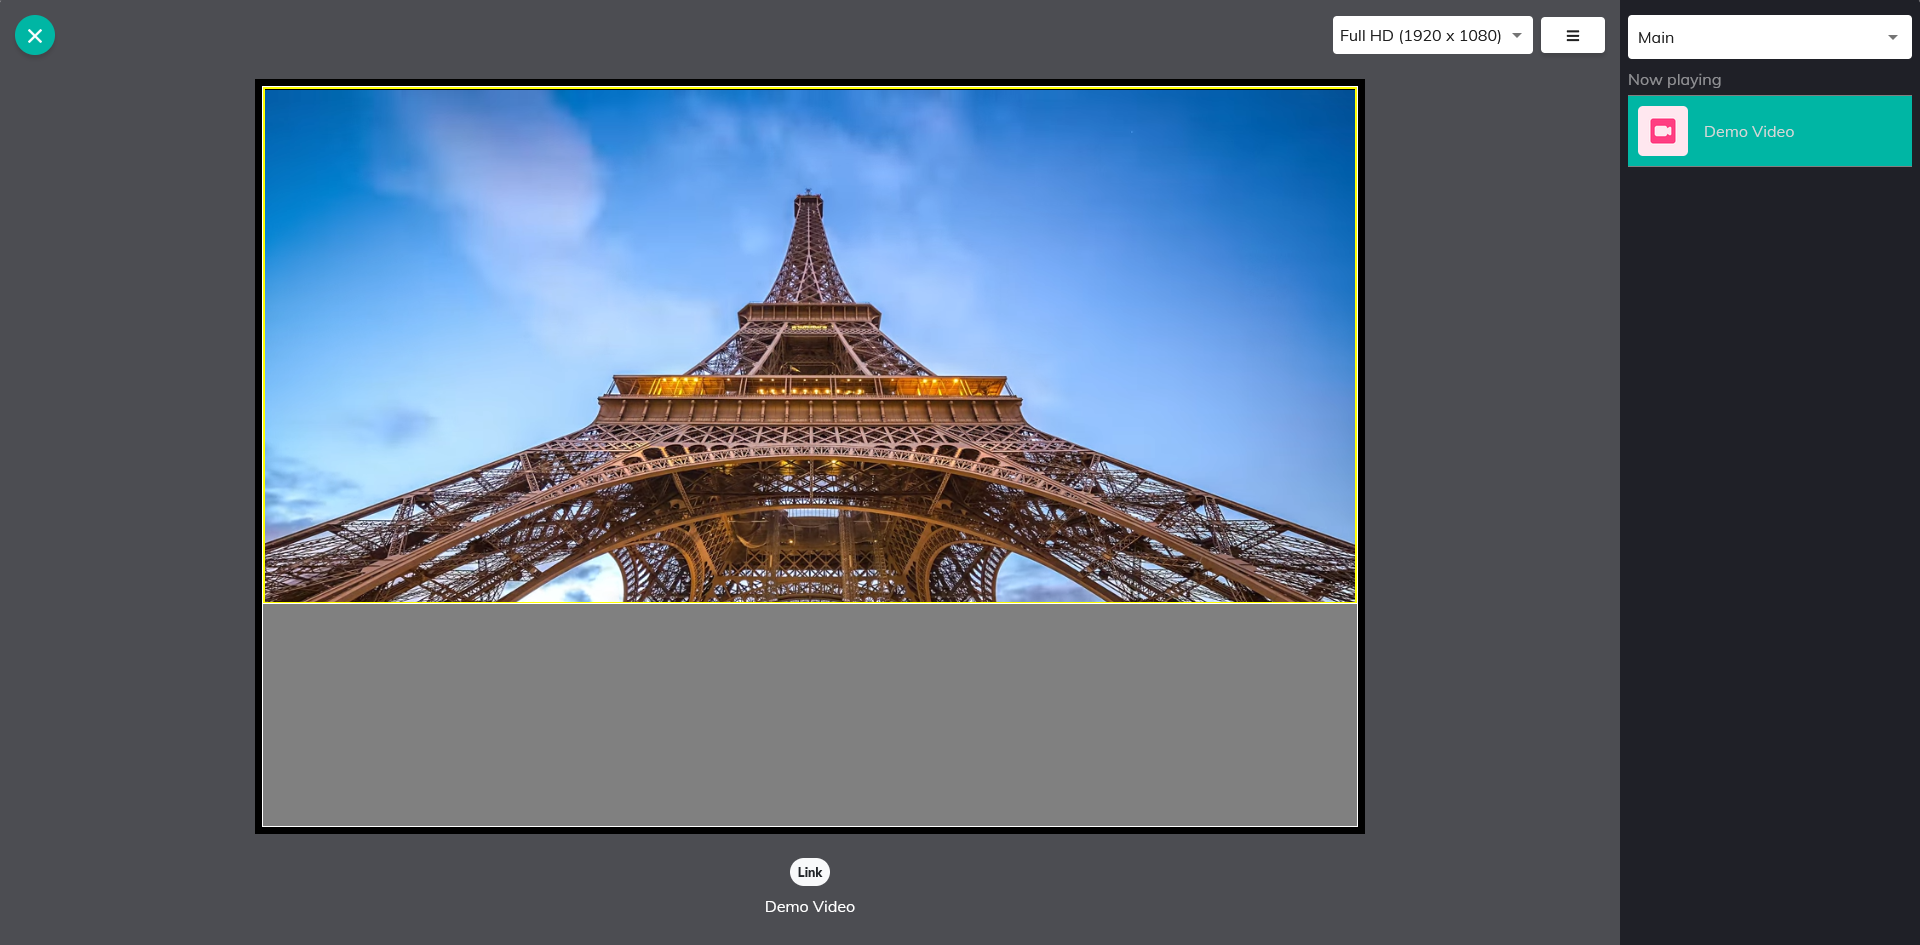
Afterwards, preview screen will appear where you can see and also change layout of screen.
Step 12: Save Changes
Make sure that you click on Save Changes, otherwise channel will be not created, also content will not be displayed.
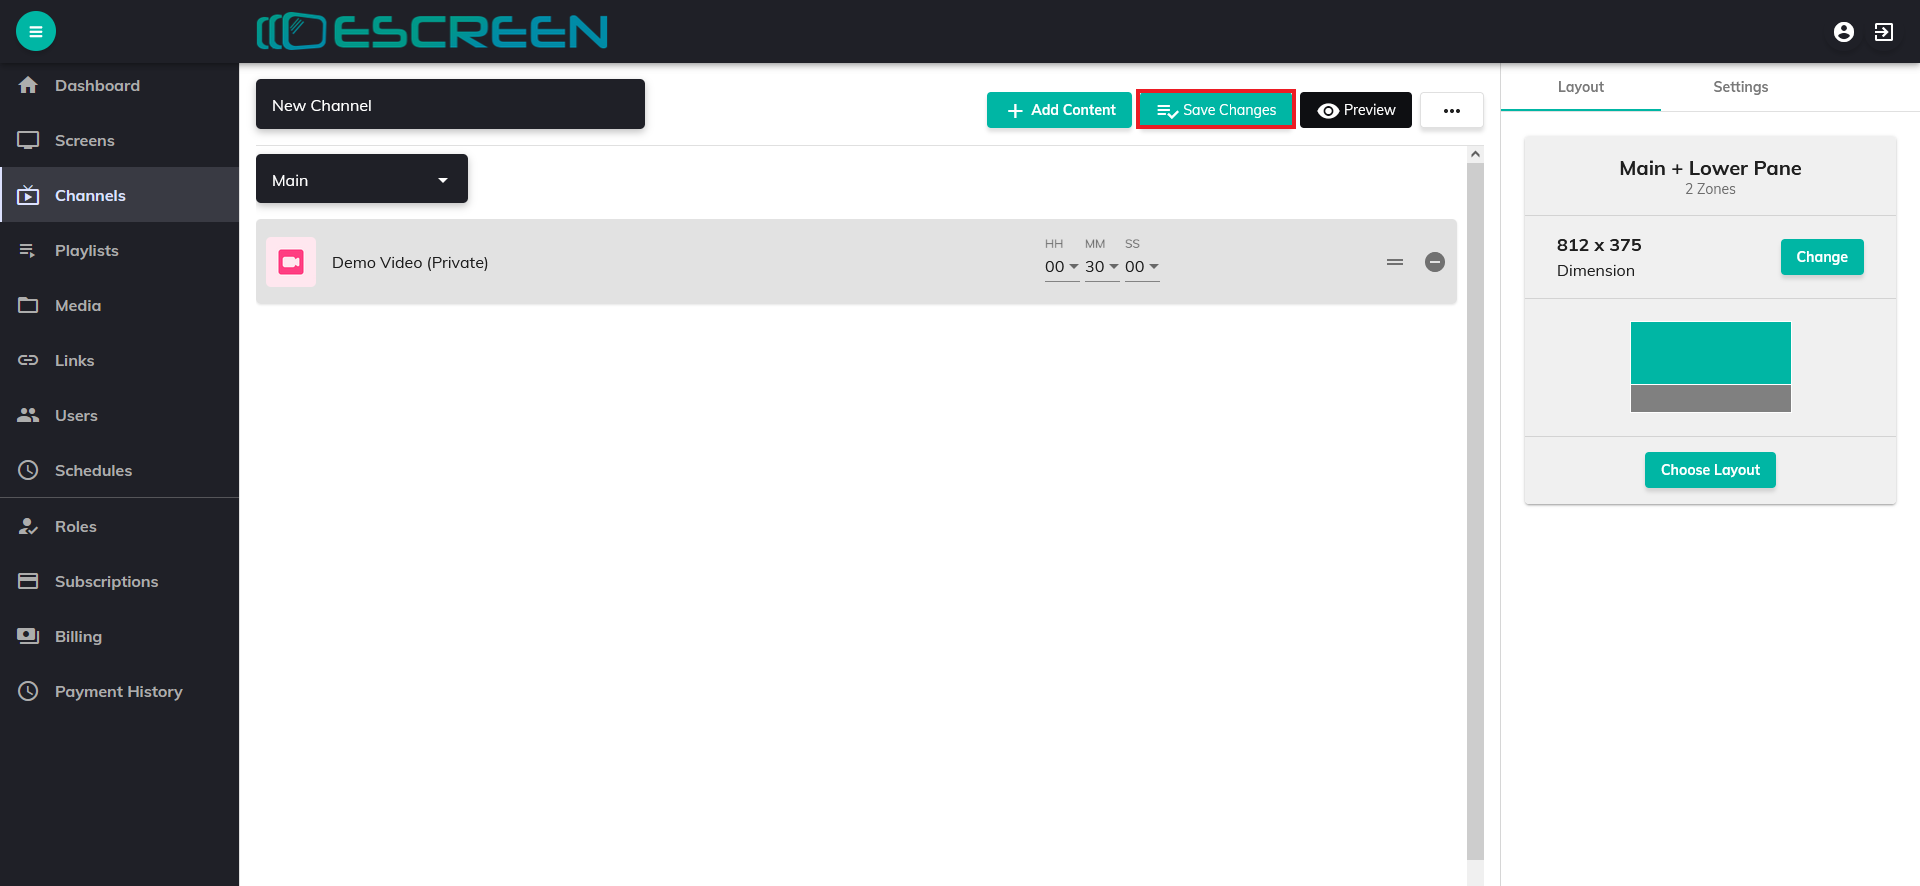
Finally you have successfully created your channel and added content in it.
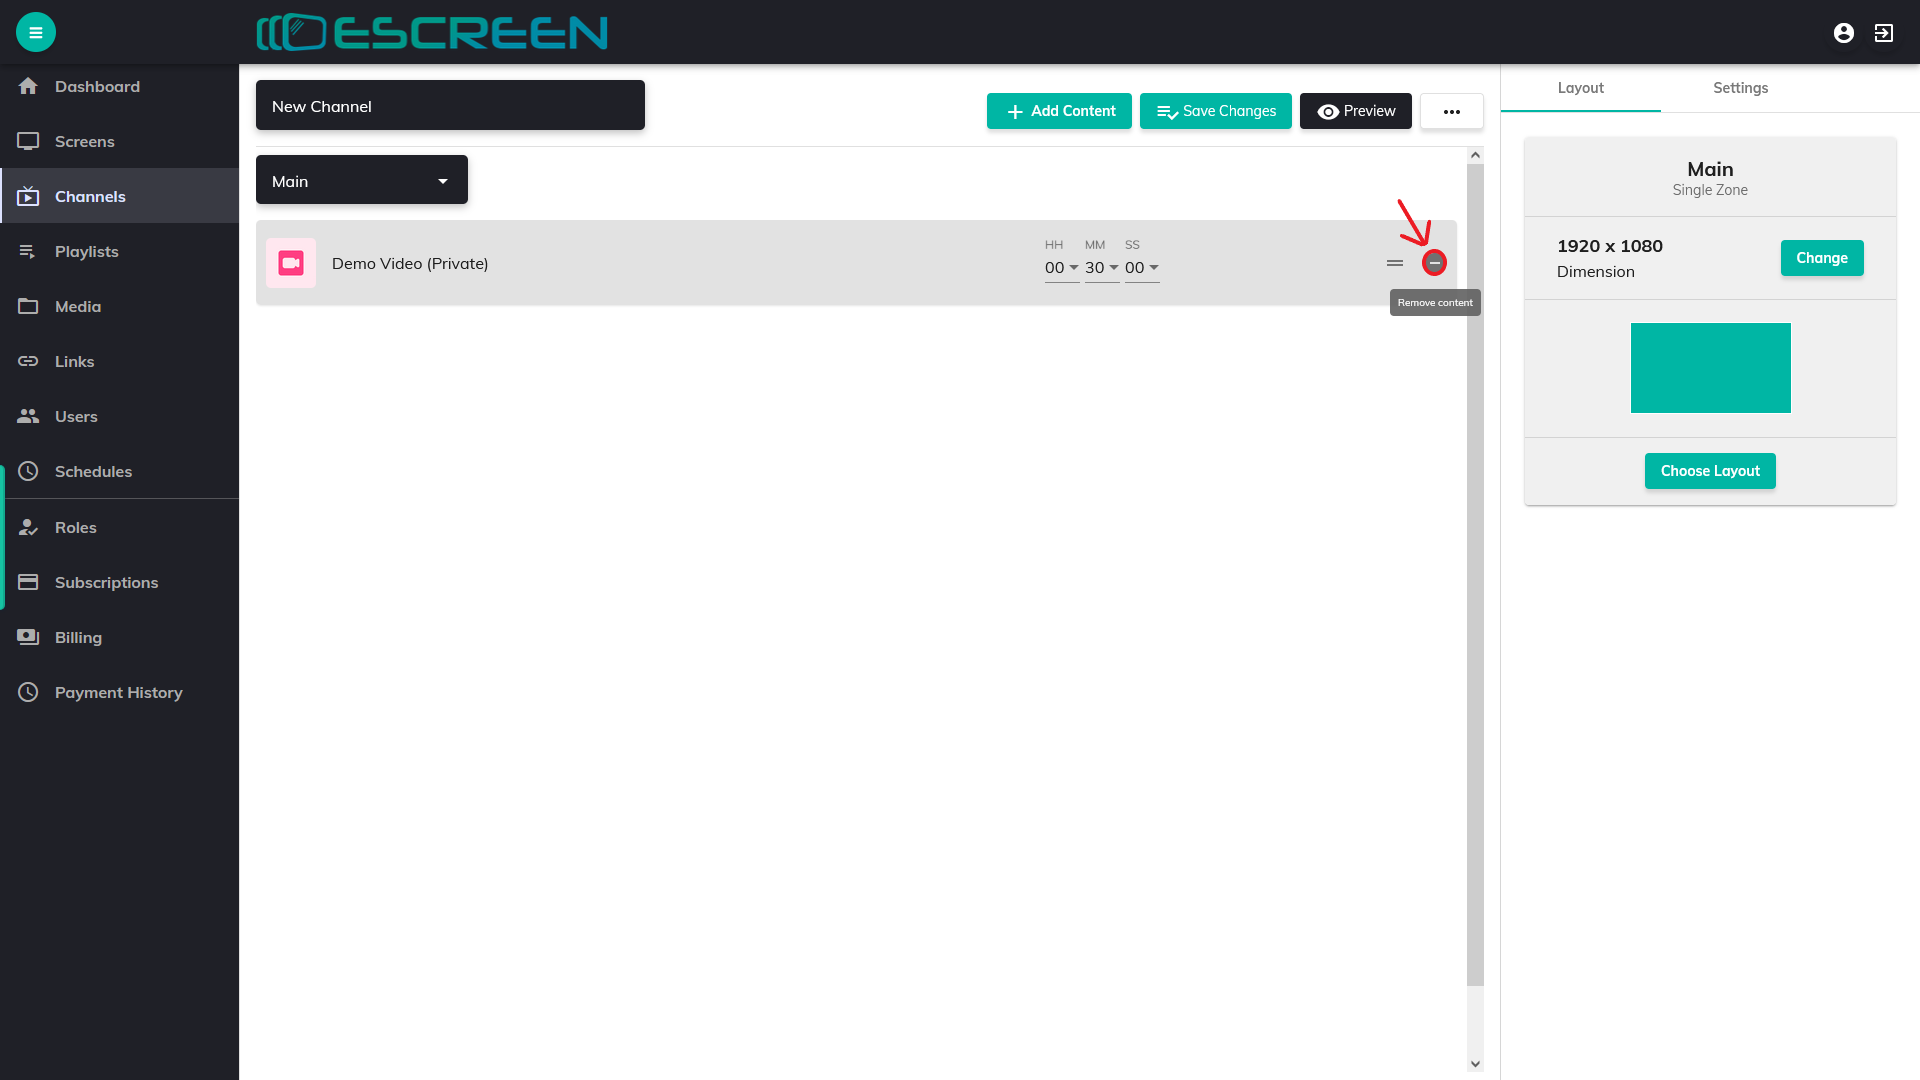
Step 13: Remove Content
If you want to remove content from your channel, simply click on Remove Content button.
(Note :- No confirmation box will appear, content will be removed directly when you click on Remove button.)
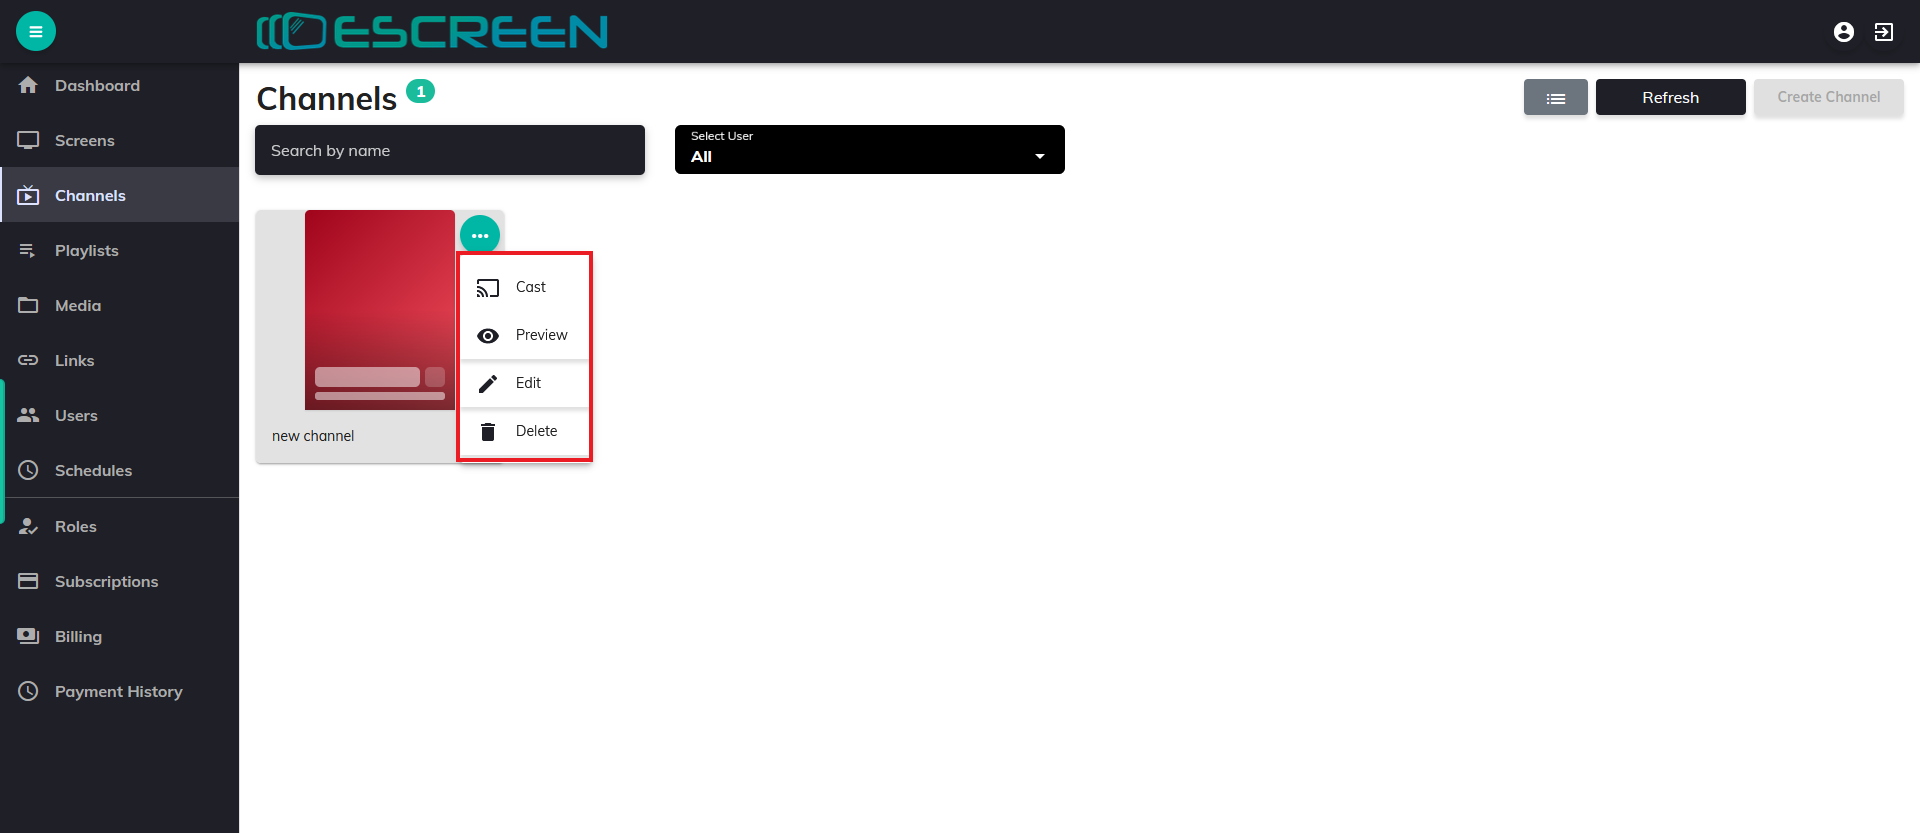
Step 14: Channel Cast, Preview, Edit and Delete.
You can directly Cast, Preview, Edit and Delete channel from channel tab itself.